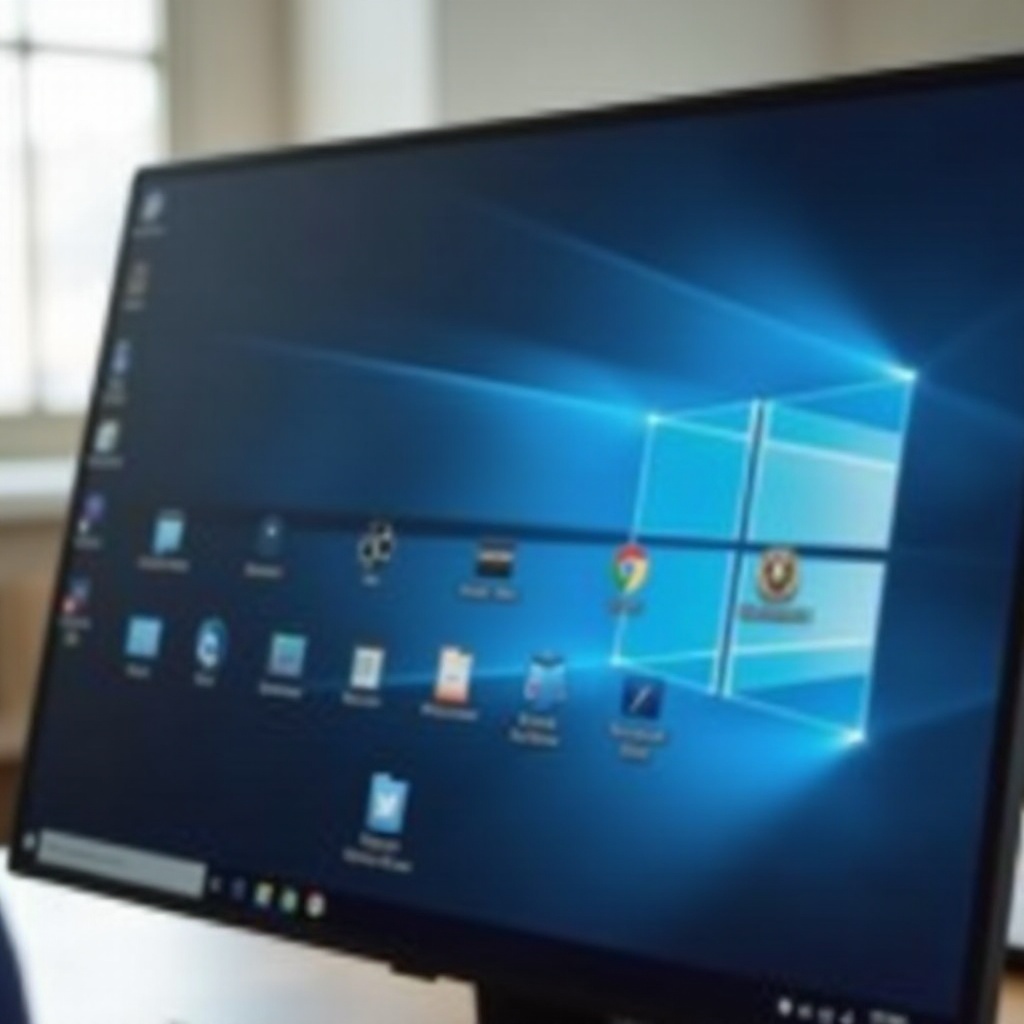
Making your favorite applications accessible is crucial for efficient computer use. Windows 11 introduces several changes to its interface, but the principles of managing desktop and taskbar icons remain consistent. If you want to customize your workspace, learning how to transfer icons from the taskbar to the desktop is essential. This guide will walk you through the process step-by-step, address common problems, and provide additional tips for optimal desktop organization.
Before you begin moving icons from the taskbar to the desktop, ensure your system settings allow for the required changes. Start with the following preparatory steps:
Windows + I to open settings.Navigate to Update & Security and click on Check for updates.
Unlock the Taskbar:
Right-click on the taskbar and ensure the Lock the taskbar option is not checked.
Enable Desktop Icon Visibility:
View and ensure Show desktop icons is checked.With your system prepared, moving icons becomes seamless and straightforward.
Several methods can help you move icons from the taskbar to the desktop. Let's explore each method in detail:
Locate the application icon you want to transfer from the taskbar.
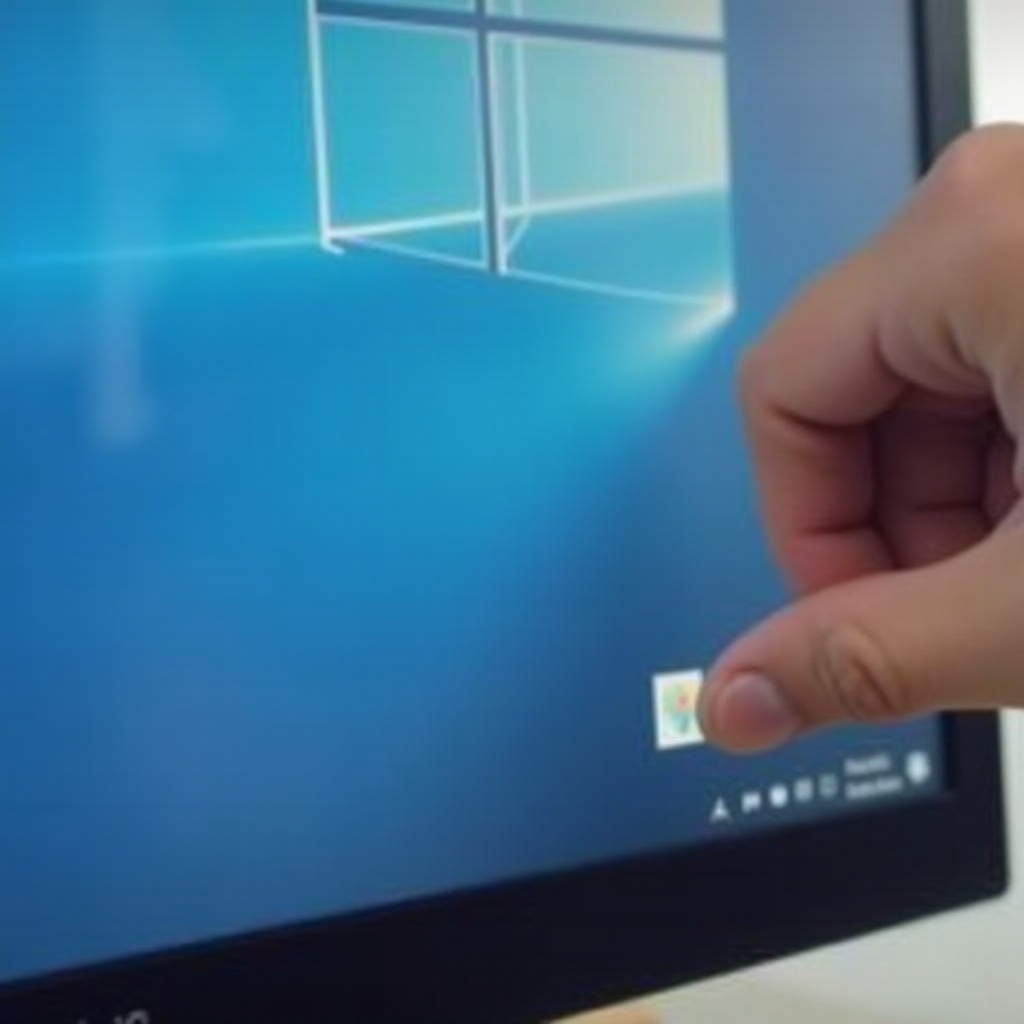
Click and Drag:
This simple drag-and-drop action is the quickest way to relocate icons.
If dragging and dropping feels cumbersome, use the right-click context menu:
Right-click on the application icon in the taskbar.
Pin to Start:
Select Pin to Start to move the icon to the Start menu.
Move to Desktop:
Using the Start menu as an intermediary can simplify the process for some users.
Taskbar settings offer another way to manage icons:
Select Taskbar settings.
Navigate to Taskbar Items:
Scroll down to the Taskbar items section.
Adjust Pinning:
Utilizing taskbar settings is particularly helpful for system apps and utilities.
Other methods can enhance your control over desktop and taskbar icons. Let's look at some often-overlooked solutions:
Quick Links feature in the Start menu facilitates easy access:
Start menu, right-click on the app.Select More > Open file location.
Move to Desktop:
Quick Links involve directly handling the shortcut files for better control.
Creating new shortcuts is a manual but effective method:
Navigate to C:\Program Files (x86) or C:\Program Files, find your application's executable file (.exe).
Create a Shortcut:
Send to, and choose Desktop (create shortcut).Creating new shortcuts ensures you have direct links to applications on your desktop.
While moving icons can be straightforward, you might face some challenges. Here are common issues and their solutions:
If an icon isn't moving:
Right-click the taskbar and uncheck Lock the taskbar.
Administrator Privileges:
Run as administrator, and try moving again.Resetting can often resolve stubborn issues:
Open Taskbar settings, scroll to Notification area and select Turn system icons on or off. Toggle them off and then on.
Reset Desktop Icons:
Personalize, go to Themes, and click Desktop icon settings. Restore default icons.Organizing your desktop and taskbar enhances productivity. Here are some tips:
Group similar applications together (e.g., Office apps in one corner, browsers in another).
Use Grid Align:
View, and enable Align icons to grid for neat spacing.Right-click on desktop, select New, then Folder. Drag related icons into the folder.
Use Start Menu Groups:
Moving icons from the taskbar to the desktop in Windows 11 is a manageable task once you understand the methods involved. Whether using drag-and-drop, right-click menus, or taskbar settings, you have the tools needed to personalize your workspace effectively. With the additional methods and troubleshooting tips provided, you can avoid common issues and maintain a well-organized desktop environment.
Ensure the taskbar isn't locked and you have the necessary administrative privileges. Also, verify if the icon permits this action.
Locate the application in the Start menu or Program Files, then right-click to create a shortcut.
Yes, go to `Settings > Personalization > Themes` and click `Desktop icon settings`. Use the 'Restore default' option.