How to Connect Volca Beats to Audio Interface
Introduction
Korg's Volca Beats drum machine is a favorite among music producers for its vintage analog drum sounds. Connecting it to an audio interface is essential for transferring high-quality audio to your recording setup. This guide will walk you through the essential equipment, a step-by-step process for connecting your Volca Beats, optimizing your sound quality, and troubleshooting common issues.

Essential Equipment
To successfully connect your Volca Beats to an audio interface, you'll need a few key pieces of equipment: 1. Korg Volca Beats: Ensure your unit is functional and in good condition. 2. Audio Interface: Select a compatible audio interface with the necessary inputs suitable for your needs. Popular choices include Focusrite Scarlett series, PreSonus AudioBox, and Behringer UMC series. 3. Cables: You’ll require a 3.5mm stereo mini-jack to dual 1/4' TS (Mono) cable or adapter. This will allow you to connect the Volca's headphone output to the audio interface's line inputs. 4. Power Supply: Make sure your Volca Beats has fresh batteries or an AC adapter for uninterrupted operation. 5. Speakers/Headphones: For monitoring the sound, use studio monitors or high-quality headphones.
Having the right equipment ensures a smooth setup and high-quality sound transfer. Next, let's move on to the detailed steps.
Step-by-Step Guide to Connecting Volca Beats
Unpacking and Setting Up the Volca Beats
Begin by removing your Volca Beats from its packaging and ensuring it’s ready for use. Insert batteries or connect the power supply, and power it on. Familiarize yourself with the controls and settings, as this will help you fine-tune the sound later on.
Connecting to the Audio Interface
- Locate the Output: The Volca Beats has a single output - the 3.5mm stereo output located on the top.
- Prepare the Cable: Take the 3.5mm stereo mini-jack cable and connect it to the Volca’s output. The other end should split into two 1/4' TS mono jacks.
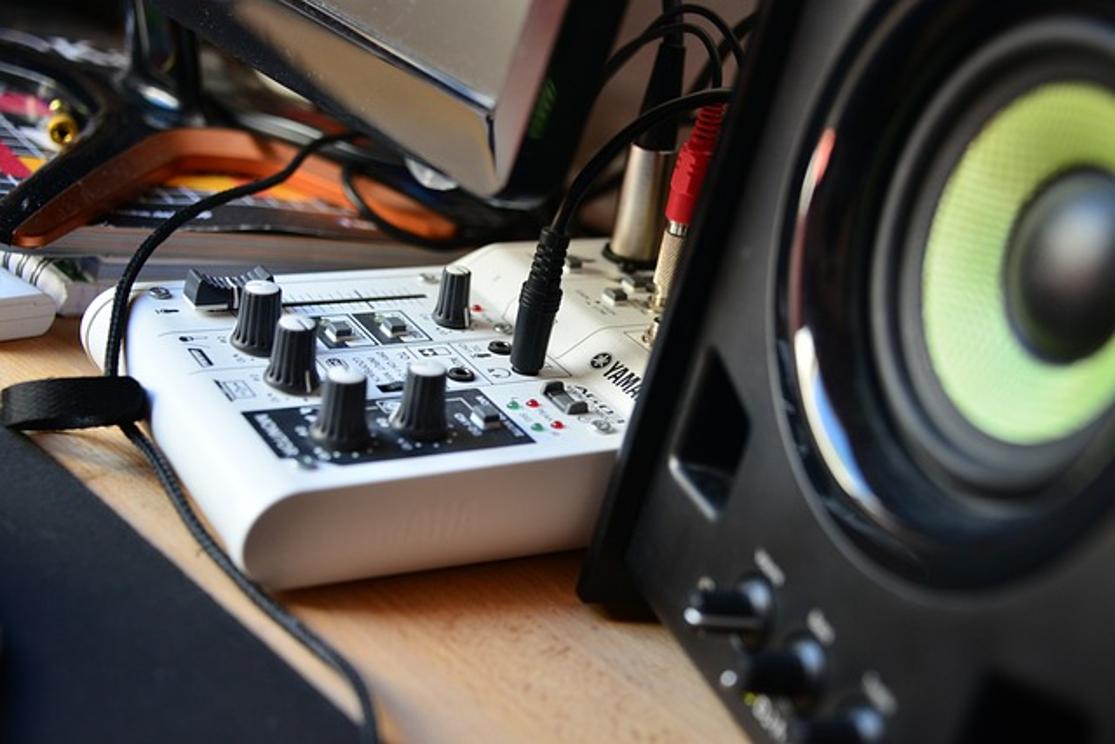
- Connect to Interface: Plug the 1/4' TS jacks into the line inputs of your audio interface. Make sure to match the left and right channels to the correct inputs.
- Configure Audio Interface: Power on your audio interface and connect it to your computer via USB or another interface method. Open your Digital Audio Workstation (DAW) software and select the audio interface as the primary input device.
- Test and Adjust Levels: Play a sequence on the Volca Beats. Monitor the input levels on your DAW to ensure the signal is strong but not clipping. Adjust the input gain on your audio interface as necessary.
Linking to Speakers
- Connect Speakers/Headphones: Attach your studio monitors or headphones to the audio interface’s output.
- Monitor the Sound: Start playback from the DAW or directly from the Volca Beats. This final step ensures you can hear and monitor the audio accurately as you play and record.
With your Volca Beats now connected to your audio interface and monitored through speakers or headphones, you are ready to start creating and recording your music.

Optimizing Sound Quality
To get the best sound from your Volca Beats, follow these optimization tips: 1. Gain Staging: Properly set the gain on both your Volca and audio interface. Too high and you risk clipping; too low and your signal-to-noise ratio suffers. 2. EQ Settings: Use your DAW's equalizer to boost or cut frequencies. For instance, reducing low-end frequencies can eliminate rumble, while a slight boost in the mid-high range can add clarity. 3. Compression: Apply mild compression to control dynamics and add punch to your drum sounds. Start with a low ratio and adjust the threshold to taste. 4. Reverb and Effects: Adding reverb can give your sounds depth, while other effects like delay or distortion can add character. Experiment to find what works best for your track. 5. Monitor Levels: Always listen at moderate volumes to avoid ear fatigue. Mixing at lower levels can often yield better results.
Following these tips ensures your recordings are clear, powerful, and professionally polished.

Troubleshooting Common Issues
If you encounter problems, here are some quick fixes: 1. No Sound: Check all cable connections and ensure your Volca and audio interface are both powered on. Validate audio interface settings in your DAW. 2. Distortion: Lower the gain on your audio interface. Make sure the Volca output is not too high. 3. Latency: Adjust the buffer size in your DAW settings to reduce latency. Lower buffer sizes yield faster performance but may tax your CPU.
These troubleshooting steps should resolve most common issues.
Conclusion
Connecting your Volca Beats to an audio interface is a straightforward process that significantly enhances your music-making capabilities. With proper setup, sound optimization, and troubleshooting, you’ll enjoy a seamless experience. Now that your equipment is connected and optimized, you're all set to create high-quality recordings.
Frequently Asked Questions
Can I connect Korg Volca Beats directly to my computer?
While it’s possible with specific cables and adapters, using an audio interface is recommended for better sound quality and integration with DAW software.
What is the best audio interface for Korg Volca Beats?
The best audio interface depends on your needs, but popular options include Focusrite Scarlett, PreSonus AudioBox, and Behringer UMC series.
How can I improve the sound quality from my Volca Beats?
Use proper gain staging, EQ, compression, and monitoring techniques. Experiment with effects like reverb and delay to enhance your sound.


